Thursday, November 29, 2012

Why Raw?

(Fair warning:  This post contains photos of dog doo.  For real.  If you are offended by dog waste, you probably don't have a dog, and should definitely not keep reading.)

When people find out I feed my pets raw food, I usually get some strange looks and questions.  "Aren't chicken bones bad for them?"  "What about salmonella?"  "Isn't that expensive?"  "Eww!  Why?"

For the record, cooked chicken bones (or any cooked bones) are very dangerous for pets.  Cooked bones, especially poultry bones, splinter when chewed up.  Raw chicken bones, on the other hand, do not splinter and are relatively safe.  I choose to grind up the bones for my cats, but my Great Dane is perfectly capable of doing his own grinding. 

As for salmonella, I have been feeding my pets raw food for six years and have not had a problem.  Do you worry about your mousers (or wild animals) getting salmonella from their prey? 

As for expense, I have found that feeding raw, especially for my dog, is less expensive than quality kibble. 

Why do I do it?  There are a few reasons, I guess.  After doing a lot of reading, I decided that a raw diet is healthier for my pets.  Dogs and cats, in my opinion, are not meant to eat meat-flavored cereal.  My pets' coats are shiny, they are healthy, and they all have a lot of energy.  My cat, Obie, was over 20 pounds when I got him.  I tried different diet foods, and restricted his caloric intake, but he plateaued at 18 pounds.  I finally tried feeding raw, almost out of desperation, and it worked.  He is down to a healthy weight, though he would very much like to be fat again.  My dog, Langston, is a Great Dane, and so is at risk for bloat.  I feel that a diet consisting entirely of kibble would increase his risk.

Feeding raw isn't always convinient.  When I run out of catfood, I not only have to run to the store, but I have to make it when I get home.  I have a large freezer for storing my dog's food.  The chicken backs I buy for him come in 40 pound cases, and thawing and repackaging that giant brick of chicken is pretty gross.  That is easily my least favorite part of this diet. 

Travel on a raw diet is rather inconvinient, too.  I am usually lazy and just buy a bag of dog food for Langston when we travel.  We were out of town last weekend, and this gave me an opportunity to document one of my favorite side effects of the raw diet.

The mighty kibble poop.  This was a gift from Langston, after eating kibble for a few days.

The raw diet poop.  Another gift from Langston, once he was back on the wagon of raw.

Which one would you rather pick up?

I believe in feeding my pets raw, but I also think it's important for people to do their homework and decide what is best for their situation.  I'm not going to scold people for daring to feed their pets commercial food, which is what seems to happen in forums dedicated to raw feeding.

If you are interested, a good place to start is The BARF Diet by Dr. Ian Billinghurst.  (BARF stands for "bones and raw food" or "biologically appropriate raw food" depending on who you ask.)  He also has a website which explains his feeding philosophy (he is also trying to sell you books, DVDs, and food products).  This is how I make catfood, though I leave out the liver (it makes Obie vomit--A LOT), and I grind all the chicken and bones, and cube up the beef heart.

That's my story.  Actually I was out cleaning up after the dog and was so amazed at the difference between the two varieties of crap that I just had to share.  Charming, I know.

Wednesday, November 28, 2012

Taco Soup

I am a total homebody.  If I don't have to go out, I won't.  Unfortunately, I also have to feed my family, and to do that I sometimes have to go to the grocery store.

We just got back from a long weekend at my in-laws' house.  My mother-in-law has ten siblings, so holidays can get a little nutty around there.  It can be an introvert's nightmare.  Everyone in this family is wonderful, and I really enjoy all my relatives, but it can be a bit...much.  Thanksgiving this year included 26 people in one small-ish house.  So, once I got home, I pretty much wanted to pull the covers over my head and hide.  I was determined to not go grocery shopping yesterday.

But I was hungry.  And there were no fresh groceries in the house, since we had been gone nearly a week.

Luckily, I enjoy a challenge.  I went freezer spelunking and pantry raiding.  Here is what I decided to use for my soup:

  • 2 pounds ground beef
  • 2 cups dry beans
  • 2 quarts turkey stock
  • 1 sweet potato (small dice)
  • 1 small onion (diced)
  • 1 cup frozen corn
  • 1 canned chipotle (minced) and 2 teaspoons of adobo sauce
  • 1 pint salsa (mine was homemade)
I also used a quart of water, and a mix of seasonings (no packets of taco seasoning here!):

  • 2 tablespoons chili powder (we make our own using this recipe)
  • 4 teaspoons onion powder
  • 2 teaspoons garlic powder
  • 2 teaspoons smoked paprika
  • 1 tablespoon cumin
  • 1 teaspoon sugar
  • salt to taste


Pick over and rinse the beans.  Simmer them in the turkey stock (or whatever broth/stock you choose) until they are tender.  Use a large pot--you'll be building the rest of the soup in there.


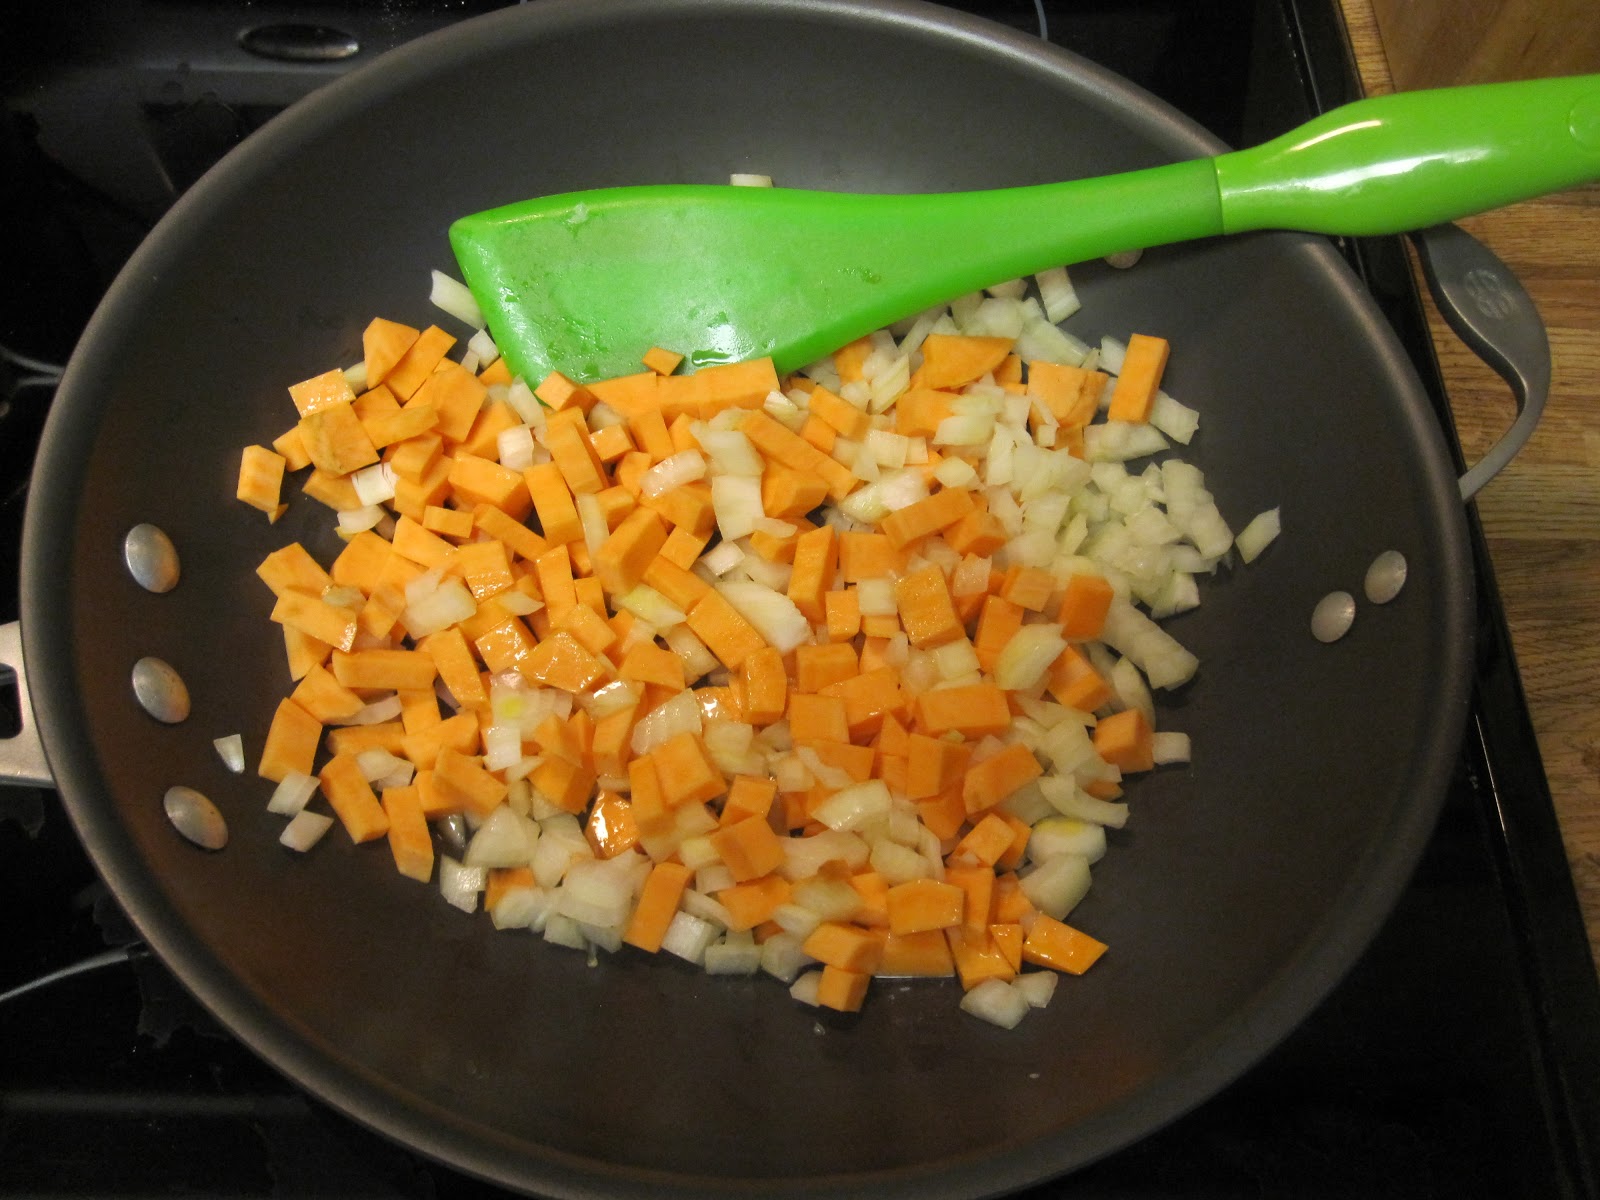
Dice the onion, and peel and dice the sweet potato.  Saute them in a little bit of olive oil until they start to take on a little coler, then add them to the pot of beans and stock.


Brown and drain the ground beef, then add the seasonings.  Add this to the soup pot along with the rest of the ingredients.  Give it a taste to see if you want to add any salt.


Dish up the soup, and top it with cheese, sour cream, and corn chips, if you like.  I was a little worried about how the sweet potato would be in the soup (I added it on a whim when I found it in the pantry), but it was really quite good.  This makes a large batch of soup.  I had over four quarts leftover.  Not to shabby for a cobbled-together meal, if you ask me!

Monday, November 26, 2012

Basketweave Knit Blanket

Once upon a time, I dusted off my knitting machine and started on a half-baked project idea.  My nephew/godson was going to be born in less than a month, and I wanted to make him something special.  Spoiler alert:  it actually turned out!


First, I machine-knitted 14 rectangles (I will call them scarves, because that's pretty much what they are).  Each scarf is 25 stitches wide, 214 rows long.


Next I pressed them, since they come off the knitting machine wanting to curl in on themselves.


I started laying my scarves out, weaving them together and tacking the outside corners.


My work surface isn't quite large enough for my project, so getting my spacing correct was a little frustrating.  Also, even though each scarf was the same number of rows in length, and was made out of the same brand and weight of yarn, some scarves were shorter than others.  If I was a more serious knitter, and didn't just jump into projects with little more than a glimmer of an idea, I might bother to do tension swatches and avoid this issue.  Instead, I just dealt with the problem by fudging the scarves around and eyeballing "even" spacing.


Here it is all woven together.


Once all the scarves were woven together and spaced to my liking, I went around the edges to tie the scarves in place.


This was as far as I had planned, and my blanket looked a lot like a pile of laundry, so I decided to make a gin and tonic and read about dinosaurs for a while.  (The kiddo was asleep for the night.  Don't worry, I don't go boozing mid-day.)


I was amused to learn about the Irritator.  Someone had modified the skull of this species of dinosaur, and when the scientists learned of the tomfoolery, they were irritated.  So they named it Irritator.  Love it.


After laughing about the Irritator for a while, I decided my next step would be to pin the woven scarves to the fabric I was using for a backing to the blanket.  This would help maintain a square(ish) shape.


Once I was done pinning, I tied knots at each intersection of scarves to keep them from curling and to maintain my spacing.


I had intended to use my sewing machine to sew down the length of each scarf, but this ended in a tangled disaster and a bit of swearing.  After dropping the project for a few days (to make a viking hat for my son, among other things), I determined the best way to hold the scarves together would be just to hand-sew a running stitch along each scarf.  I was pleasantly surprised to find how quickly that went.  I think it took me three episodes of Friends on Nick at Nite to finish this part.


Here it is all stitched down.  No baby arms will get tangled in there now!


My last step was to fold the edges of my backing over twice and sew it in place for a binding.  I hand-sewed the corners.  That was way too bulky for my machine to deal with!


Here it is!  I was surprised and very pleased with how well this turned out!  I got to meet my newborn nephew over Thankgiving weekend, and give him his new blanket.  I think it will keep him very warm over the North Dakota winter!

Sunday, November 11, 2012

Cranberry Sauce

About a month ago I got an email from a local garden center about cranberries.  They would be selling five-pound boxes of Wisconsin-grown cranberries, and they were accepting preorders.  Deciding that this was a fabulous idea, I ordered one box.

Then I got my cranberries.


Five pounds is a lot.  I decided to make it all into cranberry sauce.

Once upon a time, I ate cranberry sauce from a can, and it was fine.  Then, one day, I came across a recipe for cranberry sauce in a magazine, and I thought I would give it a try.  It was easy, and so very, very good.  I never looked back.  I am now a cranberry sauce snob.  Sorry.  The original recipe was from the magazine Everyday With Rachael Ray.  I have tinkered with it just a little, mostly to cut down on the refined sugar that you need to add in order for this to be edible.

Here's what you need:

(I am giving you the quantities for a normal batch of sauce, not a "hey, I just bought five pounds of cranberries, now what?" size batch.)
  • 1/2 cup sugar
  • 1 cinnamon stick
  • 2 teaspoons finely chopped ginger
  • The grated zest and juice from one orange
  • Enough water to bring your total liquid to one cup (with orange juice)
  • 1/4 teaspoon salt
  • 1/8 teaspoon ground cloves
  • 1 12-ounce bag fresh cranberries
Zesty!
Wash your cranberries, and grate your orange peel.  A microplane works best, but I used my box grater since I had to zest so very many oranges.

Juicy!
Juice your naked orange(s).  Pour the orange juice into a measuring cup and add enough water to get a total volume of one cup. 


Peel and dice your ginger.  Did you know that a spoon actually works best for peeling ginger?  It's true.  If you don't want to have small chunks of ginger in your sauce, feel free to grate it instead.  Assemble your spices.


Everything goes in the pot.  I had to use my giant stock pot, you can use a medium saucepan for your normal little batch.  Turn on the heat and stir until the sugar has dissolved.  Bring the mixture to a boil, then reduce heat and simmer until the berries have popped and the sauce has thickened.


Since I am making such a mondo batch of sauce, I use this time to get my canner and gear all set up.  If you look closely, you will see that I turned the wrong burner on to keep the water in the canner at a simmer.  Oops.


Stir the sauce occasionally.  You really don't want to burn the sugar.  You can see some of the berries are starting to pop here. 


Saucy!
The sauce is done!  Transfer to a bowl and allow to cool.  You can keep this in the refrigerator for up to two weeks.  If you want to can your sauce, load hot jars, leaving a half inch head space.  Wipe the jars and seal with two-piece lids.  Place in a boiling water canner for 15 minutes (up to 1000 feet above sea level, longer if you live at higher elevations).


I now have more than enough cranberry sauce to get me through the holidays!  I hope you give this recipe a try. 

Saturday, November 10, 2012

A Viking Hat for Julian

I live within walking distance of a fabric store.  Sometimes this is good, like when I am in the middle of a project and I realize I forgot to buy something.  Sometimes, this is not so good, and it is more of a temptation.

Today, while I was taking a shower, I realized that Julian HAD to have a viking hat.  Today.  And then I went shopping.

I don't really know how to sew.  I usually just decide that I can do something, and then it either works, or I fall flat on my face.  Today I did pretty well.  I even managed to do this entire project during Julian's afternoon nap.  He took an abnormally long nap today, but still.
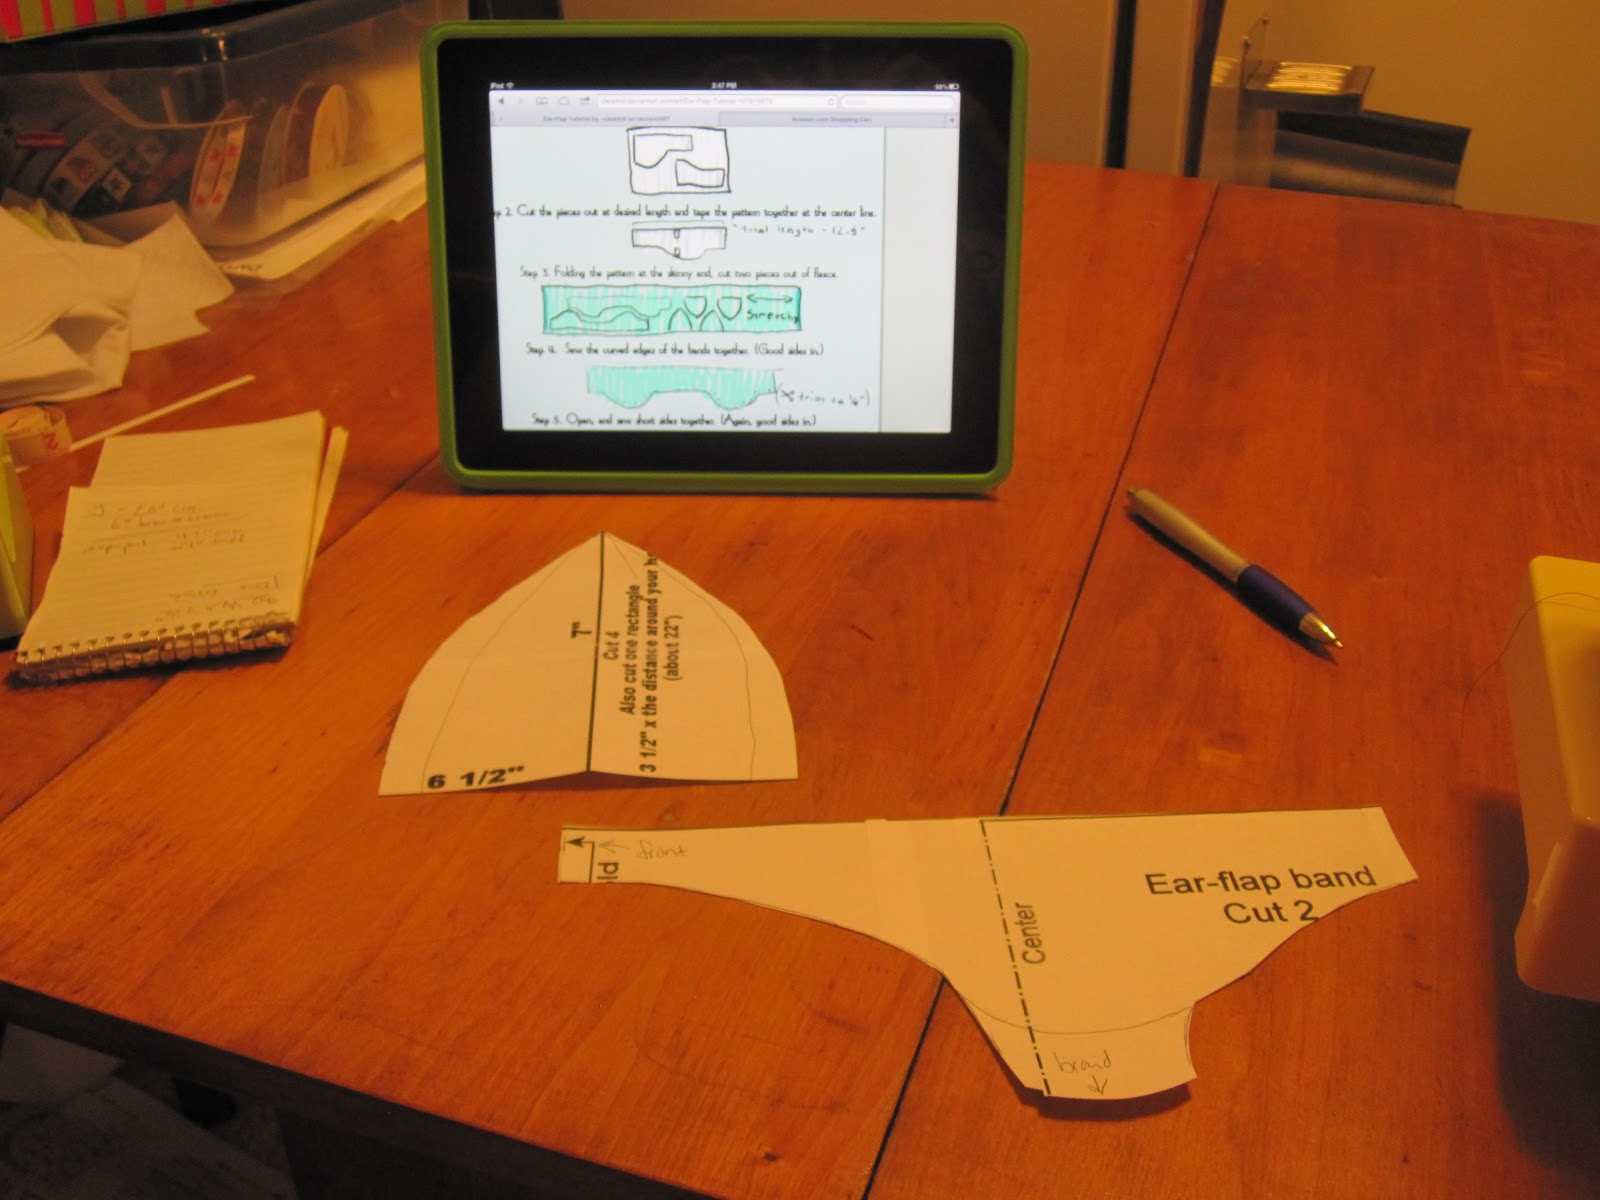
I used this tutorial for the hat, as well as that author's tutorials for ear flaps and ears (for the horns).  The links are at the bottom of her tutorial.


Here I'm getting set up.  I have cut out the pattern pieces, and I am modifying them to fit Julian's head.  I have my iPad set up with the tutorials on screen.


I'm getting started on the sewing!  I drew the horns free-hand.  Yes, I use a lot of pins.  I'm not very good at this, remember?


Hey, it's just about done!  Yeah, I neglected to take more process photos.  I was in a bit of a hurry to finish while Julian slept.  From here, I cut the long "ear flaps" into three strips to braid.


Someone just woke up, and doesn't know why he's wearing a hat.


Here's a better shot.  It's not perfect, but I must say I'm pretty proud of myself.  Now we're all ready for the football game tomorrow!  Go Vikings!

Friday, November 9, 2012

Rajmah: Healthy Comfort Food

I love rajmah.  What is it?  Curried kidney beans, or "Indian Chili," as I like to think of it.  It is hearty, healthy, super inexpensive, and perhaps best of all, crazy easy to make.  And by crazy easy, I mean you can get this prepped and in your crock pot while your morning pot of coffee is brewing.

This recipe is adapted from The Indian Slow Cooker by Anupy Singla.  I love this book.  I toned down the heat (spice) for this recipe.  I liked it as written, but had to add yogurt or sour cream to eat it.  Also, I like to share the food I make with my little boy, and I don't really want to burn his face off.  I also adjusted a few ingredients and the preparation to speed things up a little more.

Here is what you need:
  • 1 pound dried red kidney beans, picked through and washed
  • 1 medium onion, peeled and quartered
  • 1 14.5 ounce can diced tomatoes
  • 1 two-inch piece of ginger, peeled
  • 3 cloves garlic, peeled
  • 1 serrano chile, stem removed
  • 3 whole cloves
  • 1 cinnamon stick
  • 1 tablespoon cumin seeds
  • 1 teaspoon cayenne pepper
  • 1 tablespoon salt
  • 1 teaspoon turmeric powder
  • 1 teaspoon garam masala
  • 8 cups of water, broth, or stock


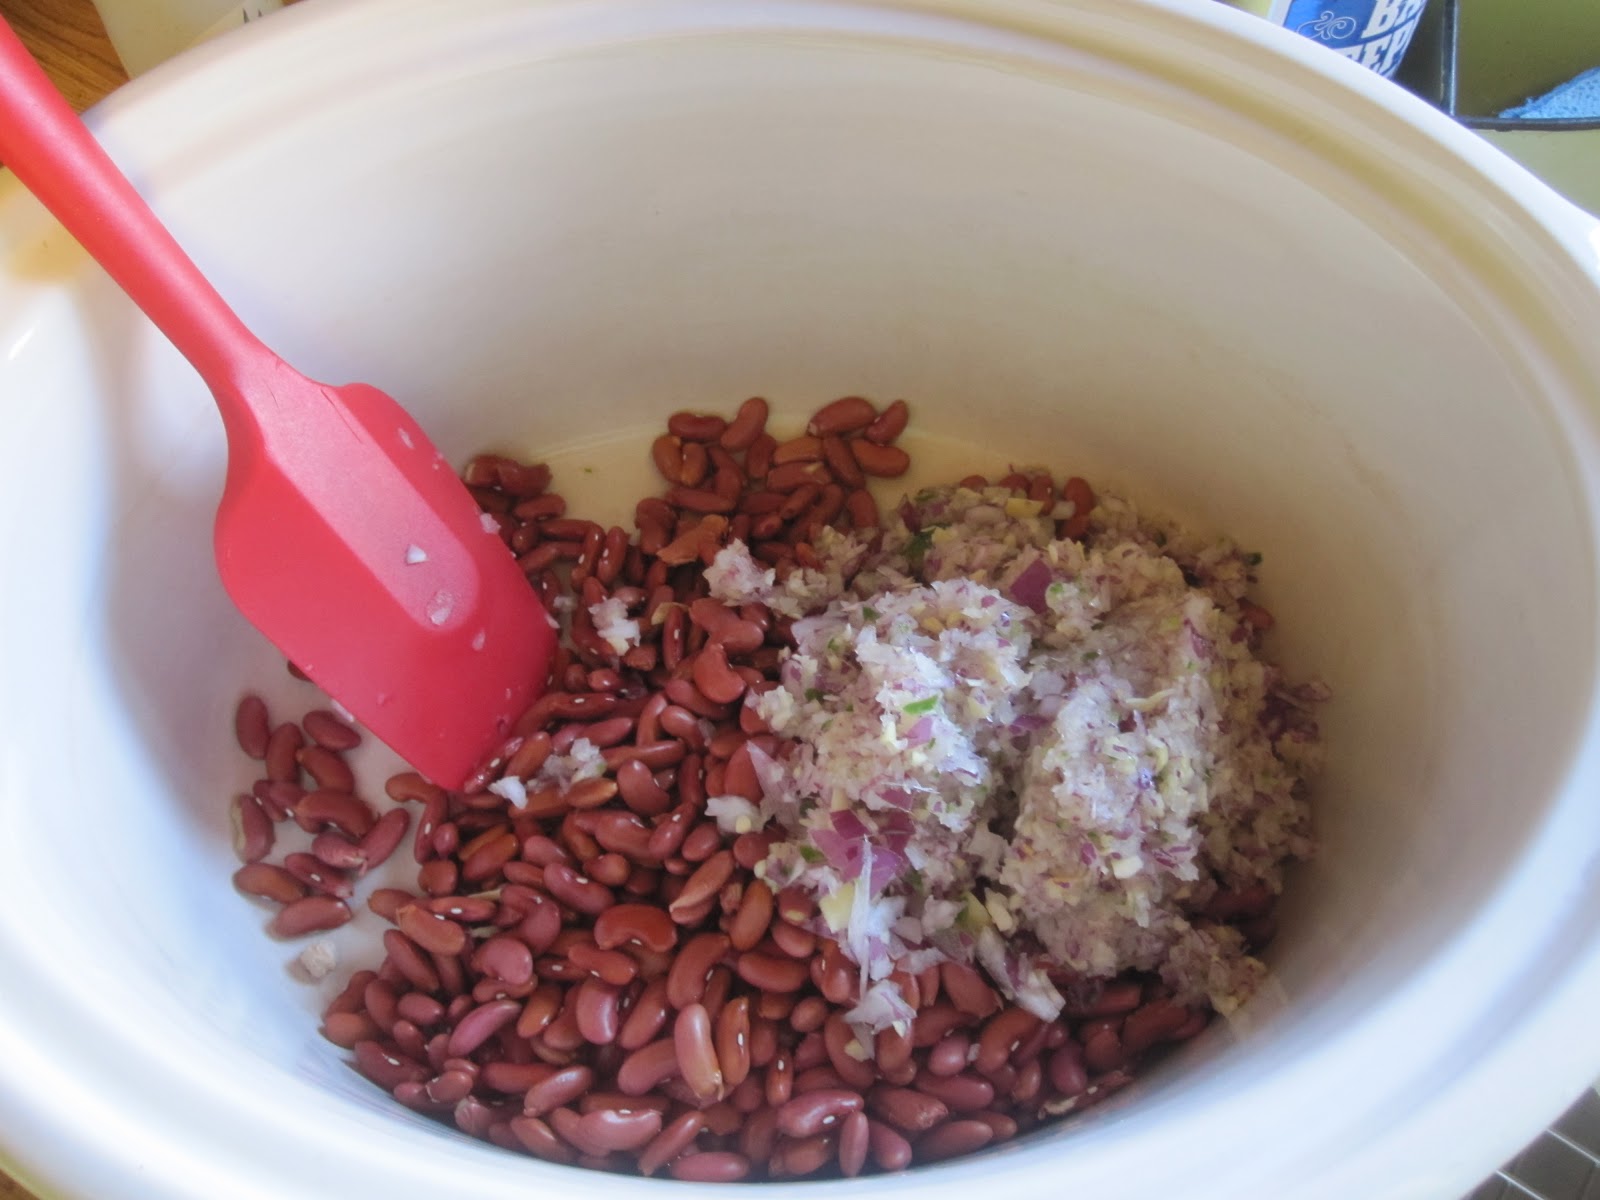
Put your clean beans in your crock pot.


Get your vegetation ready, preferably while a toddler tries to climb up your leg.  He probably needs something, like breakfast, or a tissue.


Next up, put your vegetation in your food processor, and pulse until it is finely chopped, but not yet a puree.  I used a red onion, because that is what I had in the cupboard.  Use what you want.  Also, be cautious when opening your food processor.  It sort of feels like you've been maced if you put your face too close to the work bowl when you open this bugger up.


Add your processed vegetation to the crock pot.  (See, it's easy!)


Try and fail to distract the little boy who keeps trying to climb up your pant leg with some banana slices.  I wonder if he's trying to booby trap my chair?


Assemble your spices.  If you are worried about this dish being too spicy for you, cut back on the cayenne pepper.  I feed this dish to my one-year-old, though, so take that into account.


Toss the spices into the crock pot, and add the eight cups of liquid and the can of tomatoes (un-drained).  Stir it up, lid it up, and set it to high.  Dinner will be ready in ten to eleven hours.  Oh, and I know it looks like pond scum now, but I promise it will be tasty!


Eleven hours later:  much better!  Mash up some of the beans to thicken things up.  You can either spoon some out to puree in a blender, use an immersion blender, or do what I do and just smoosh some beans against the side of the pot with the back of a spoon.  Serve over rice or with bread, or just eat it with a spoon.  Enjoy!

Thursday, November 8, 2012

Anniversary


Four years ago, I got married to my favorite person. 


He didn't even smear cake on me at the reception.


He makes me laugh, and I'm pretty sure I make him laugh.  I hope he's laughing with me more often than he's laughing at me, but I will take what I can get.  You can never have enough laughter in your life.

I'm not going to say that I can't imagine my life without him, because that isn't true.  Life would probably be easier, but it sure wouldn't be nearly as much fun.  Besides, I kind of enjoy his company.

Damian is smart, witty, funny, loyal, and hard-working.  He is a wonderful husband, and a fabulous father.  For some reason he loves me, despite my flaws.


Oh, and did I mention how handsome he is?

Yeah, I'm a pretty lucky gal.

It's been a great four years.  Here's to forty more.  Heck, I'll take as many years with you as I can get.  Happy anniversary, Damian.  I love you.

Monday, November 5, 2012

Ris-oat-to

A month or so ago, I stumbled across a recipe contest through a regional grocery store chain.  The contest was for recipes using steel cut oats.  As it happened, I had come up with a somewhat unusual use for oatmeal, so I sent in my recipe, and I won!

I came up with this recipe one night after I had put the baby to bed.  I was tired, hungry, and all I really wanted was a big bowl of cheesy carbs.  Isn't this what all girls want out of life?  A bowl of cheesy carbs?  Well, I was out of pasta and couscous, my usual go-tos, but I had a bunch of steel cut oatmeal.  I call this dish "risOATto" because (a) I am a dork, and (b) it is cooked a lot like risotto is, but it uses oatmeal instead.  Here's what you need:

  • 1 quart of stock or broth (flavor is dealer's choice)
  • 1 cup of steel cut oats
  • 1/2 to 1 teaspoon granulated garlic
  • 1/2 teaspoon Italian seasoning blend or dry basil
  • 1/2 cup sun dried tomatoes
  • 1 cup frozen chopped spinach
  • Pine nuts
  • Parmesan cheese
  • Salt to taste (optional)

Start by bringing your broth/stock to a boil in a medium saucepan with your garlic powder, Italian seasoning/basil, and salt, if using.  I make and can my own turkey stock, so that's what I use.


The label explains why garlic goes in everything.


Once your stock is boiling, stir in the cup of oats.  Reduce heat to a simmer and cook uncovered until most of the liquid has been absorbed and the oats are tender.  Stir often, or you will regret it (and have a big mess to deal with).  This takes about 20 minutes.


While the oats are simmering, slice the sun dried tomatoes.  I grew and dried these cherry tomatoes, and since they are already small, I just snipped them in half with kitchen shears.


Also get your spinach ready to roll.  I am a fan of minimizing dirty dishes, so I put my prepped veggies in the bowl I plan to eat out of.


Try not to trip on the oven mitt thief.  Also laugh at his too-large pajamas.


When you oatmeal is cooked, stir in the tomatoes and frozen spinach.  Simmer a few minutes longer, just until the tomatoes have re-hydrated and the spinach is warm.


Serve it up with a sprinkle of pine nuts and Parmesan on top.  You can use this as a side dish instead of pasta or rice, or as an entree.  Add diced cooked chicken or smoked sausage if you want, or different veggies.  This is an easy way to use up leftovers, and if you call it "upcycling" your leftovers, you sound all hip and green. 

Enjoy your oatmeal for dinner!